Home cosmetology >>>> How to correct a defect in the nail plate?
How to correct a defect in the nail plate?
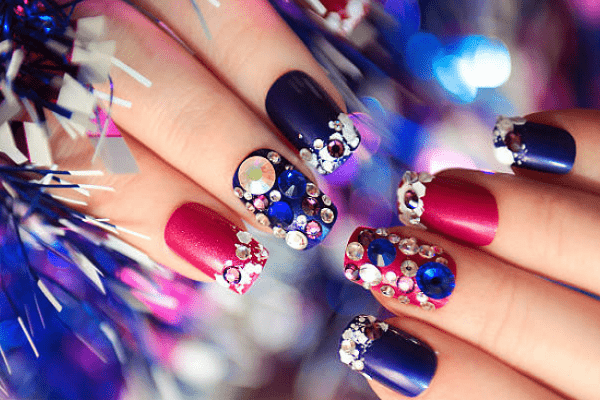
A common problem in creating beautiful nails with a manicure lies in a defect in the nail plate, which can initially grow with distortion, for example, be uneven (wavy), curved, deformed. In such cases, the ability to decorate nails will come to the rescue: inlay or paint with varnish, apply a stencil design or glue applications (decals).
Usually a manicurist or pedicurist can, at the client's request, create a spectacular decoration on the surface of the nail plate during a professional manicure or pedicure procedure. But if you create a manicure or pedicure yourself at home, then you can master the art of decorating the nail plate yourself. These skills will be useful not only for correcting the surface and shape of the nail plate, but also for creating a spectacular holiday manicure.
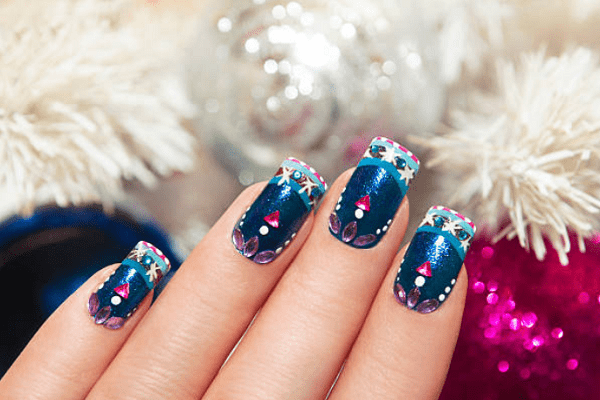
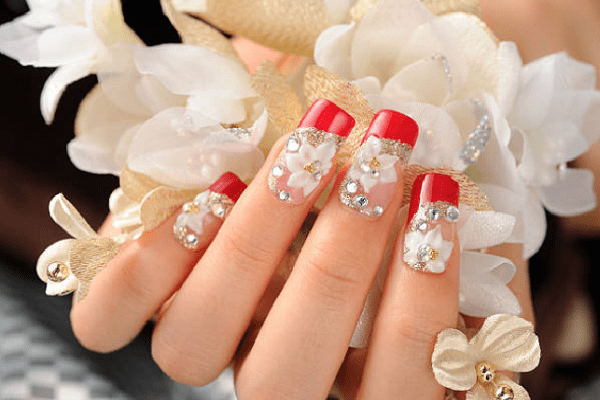
To correct a defect in the nail plate with your own hands, you need imagination and several tools and materials necessary for the work. To create patterns on the nail plate at home, you will need thin brushes for applying nail polish, a glue brush (to glue rhinestones, beads, sparkles or any other decorations), thin foil of different colors (you can use candy foil), nail stencils, transfers pictures for nails. You buy a light-curing varnish for the base layer of the nail coating, nail glue, a light-curing colorless varnish (overlay) for the final coating and fixing of decorations on the nails, a solvent for cleaning brushes from varnish and glue, a lamp for light-curing varnish, tweezers for laying decorations and pictures.
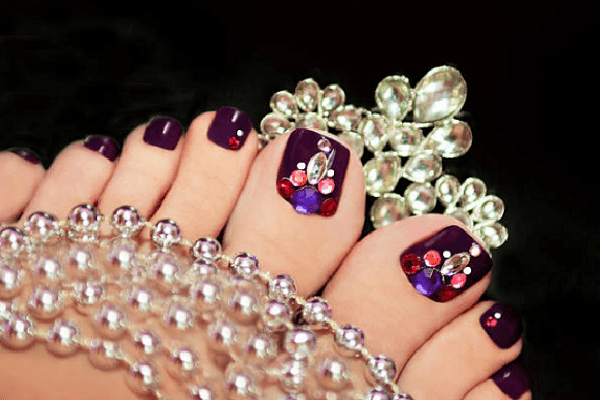
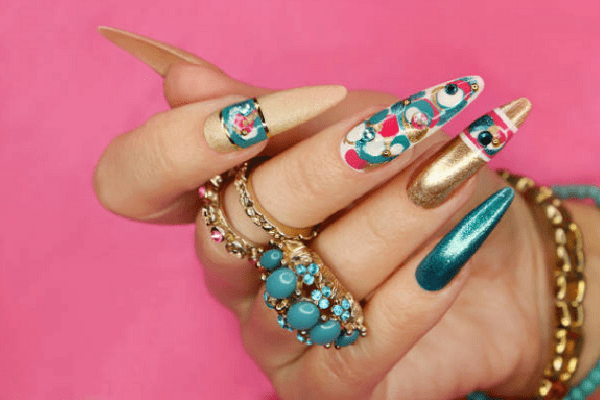
Under any nail plate decoration, the first step is always to apply a layer of base varnish. Each layer of varnish (including the varnish pattern) is hardened under the light of a lamp.
To apply rhinestones, beads or other small convex and hard decorations on nails (nail inlay), the nails are covered with another layer of varnish, into which, before it hardens, the decorations are laid out in the form of a pattern, and only then the varnish with decorations hardens under a lamp. The next layer is an overlay to prevent the decorations from chipping or clinging to the rough surface. The exception is when nails are inlaid with precious or semi-precious stones, which are not covered with an overlay so as not to distort the true glow of the stones.
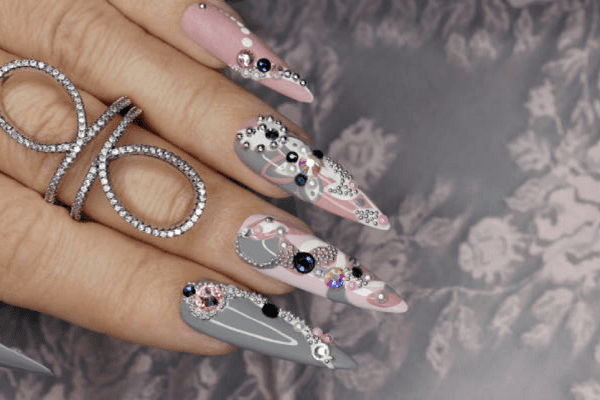
Drawings on the base layer of nail polish are applied with special nail paints, but you can use varnishes of other shades for these purposes.
If your nails are long enough, you can place stencils on them and paint them with different colors to create a complex design or design. If you don’t have time to draw and stick decorations, which is a rather painstaking task, you can use decals or stretch a layer of foil onto the surface of the nail (over a layer of glue), and then secure it with an overlay.
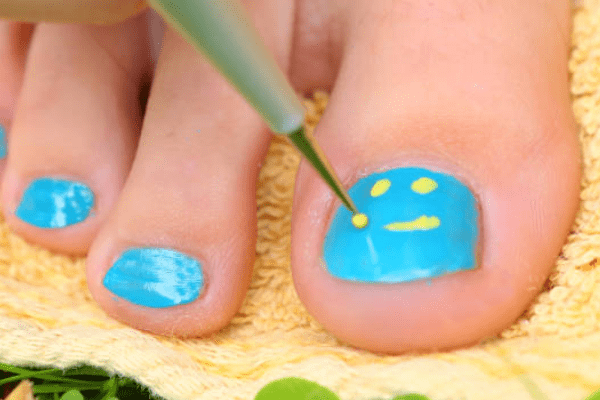
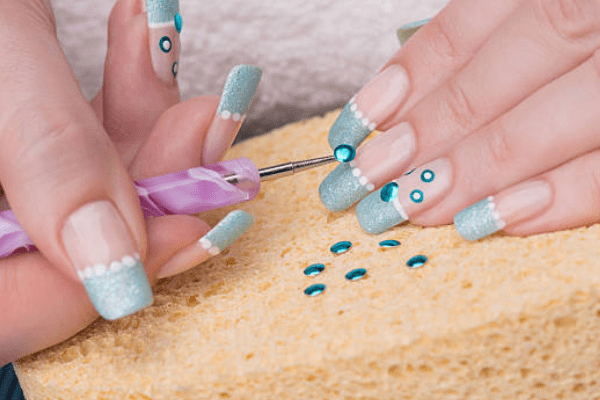
As decorations on your nails, you can use small confetti, dust or crumbs from the processing of precious stones, or shavings of precious metals.
The occupation of inlaying nails is so interesting that it will distract you from gloomy thoughts about the imperfections of your own nails forever.

Read

Read


